My external hard drive suddenly stopped mounting on my Mac, and Finder never shows it even after I reconnect it and restart. I need help figuring out if this is a macOS issue, a cable or power problem, or if the drive might be failing because I have important files on it and can’t access anything.
I’ve had this happen enough times on my Mac that I stopped treating every unmounted external drive like a funeral.
At first, I figured the disk was dead and my files were gone. Most of the time, nope. The drive itself was fine. The issue was usually one of these: the file system got messed up, macOS had some background process hung up, or the volume refused to mount even though the hardware still worked.
A few quick checks first.
Plug the drive straight into your Mac. Skip the hub or dock for now. Try another cable if you have one. Move it to a different USB or Thunderbolt port. If you’ve got access to another computer, test it there too. Then check Finder settings and make sure external disks are set to show up on both the desktop and the sidebar.
If the drive shows up in Disk Utility and the size looks about right, I usually take that as a decent sign.
This only applies to drives that still seem physically okay. If the disk does not appear in Disk Utility at all, shows a nonsense capacity, keeps dropping the connection, clicks, or does not power up, you’re looking at a hardware fault more than a mount problem. Software fixes won’t do much there.
If the drive still seems healthy, these are the steps I’d try.
Method 1: Run First Aid on the whole drive
This is the first thing I do because it’s built in and takes little effort.
- Open Disk Utility.
- Click View > Show All Devices.
- Pick the physical disk at the top, not only the volume underneath it.
- Click First Aid.
- Approve it and let it finish.
- Try mounting the drive again.
If the file system damage is small, this sometimes clears it up.
Method 2: Kill a stuck fsck process
I’ve seen macOS get stuck checking a disk after it was unplugged badly. When that happens, the drive can sit there and refuse to mount.
- Open Terminal.
- Run: sudo pkill -f fsck
- Press Return.
- Type your admin password if macOS asks for it.
- Wait a bit.
- Check the drive again.
This does not repair corruption. It only clears a process that might be blocking access.
Method 3: Mount it by hand in Terminal
Sometimes the volume is there, and macOS still won’t mount it on its own. Manual mount is worth a try.
- Open Terminal.
- Run: diskutil list
- Find your disk identifier, something like disk4s1.
- Run: diskutil mount /dev/disk4s1
- Swap in your own identifier.
- Press Return.
- Read the result from Terminal.
If it works, the volume usually appears right away.
Method 4: Reformat the drive
If the other steps go nowhere, erase and reformat is the last stop.
- Open Disk Utility.
- Click View > Show All Devices.
- Select the physical disk.
- Click Erase.
- Give it a name.
- Choose APFS if you use it only with Macs, or exFAT if you need Windows support too.
- Click Erase.
- Wait for it to finish.
One thing I would not ignore. If the files matter, don’t rush into repair.
Even the safer-looking tools can alter the file system. Sometimes they help. Sometimes they make later recovery harder. Formatting is the obvious destructive option, but repair attempts can also change disk structures in ways you won’t like if the data is important.
What I do first in those cases is recover the files, then mess with repairs after.
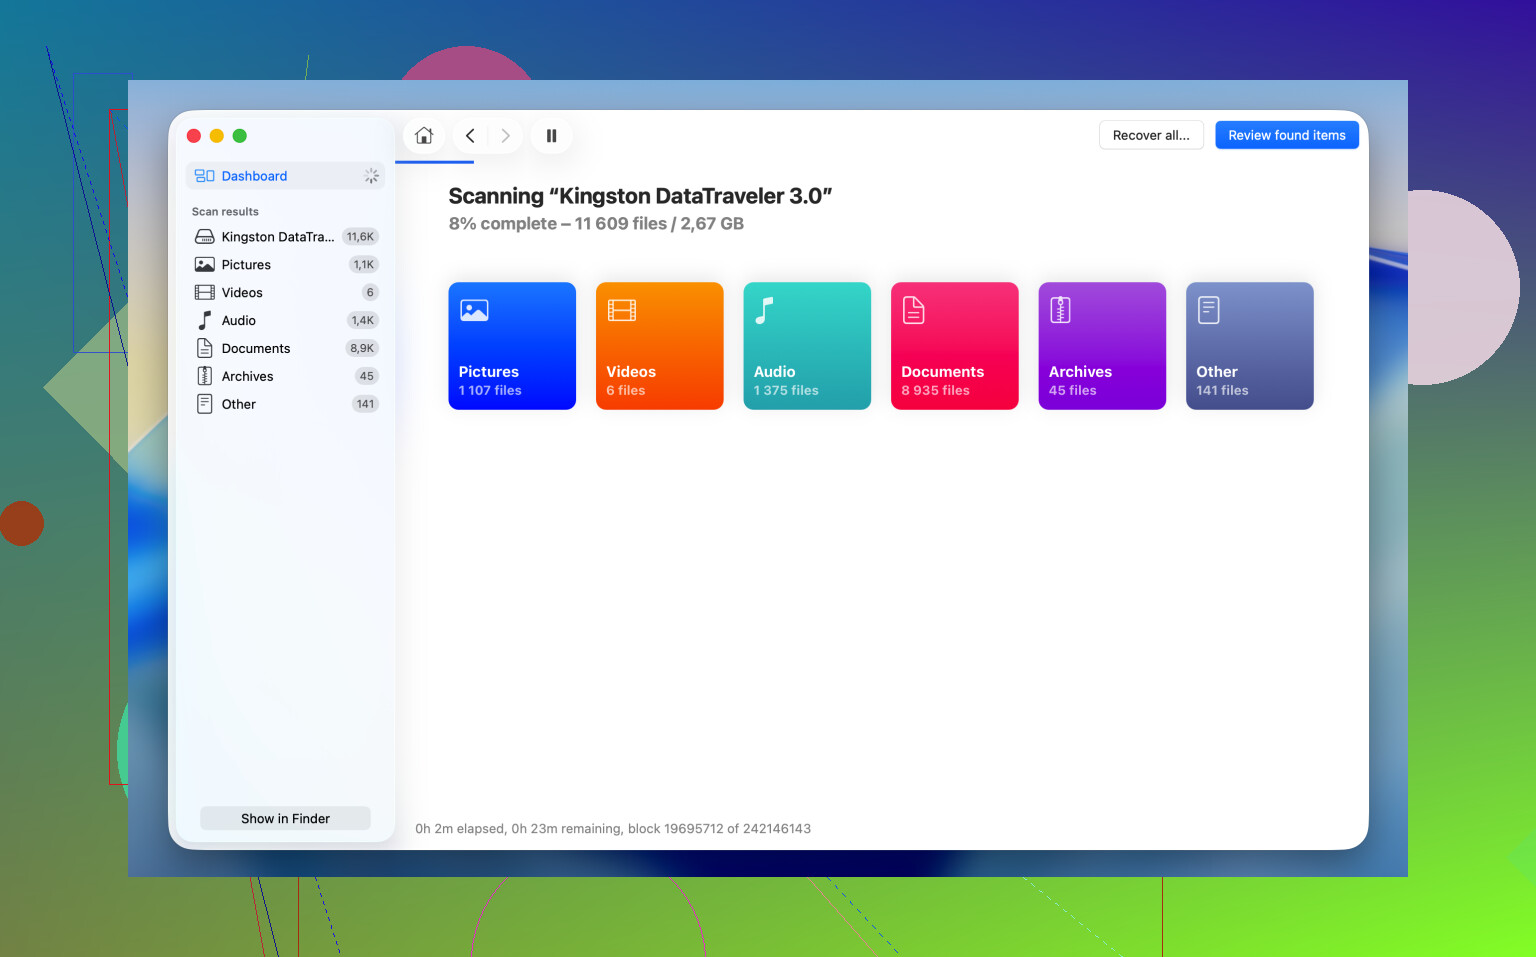
I’ve used Disk Drill for this kind of problem when the drive appears in Disk Utility but won’t mount in Finder. macOS tends to give up early once the file system is damaged. Disk Drill reads the storage device more directly and scans for files macOS won’t show you.
The part I like most is the Byte-to-byte Backup feature. If the drive is flaky, disconnects on its own, or feels unstable, I’d make an image first. That gives you a copy of every readable sector and lets you work from the image instead of hammering the original disk over and over. Saved me once, tbh.
The recovery flow is simple enough:
- Download and open Disk Drill.
- Select the unmounted drive from the list.
- Make a Byte-to-byte Backup if the drive seems unstable.
- Scan the original drive or the image.
- Look through the files it finds.
- Preview the important ones and make sure they open.
- Recover them to a different drive.
After your files are safe and open fine from another disk, then go back and try the repair steps. Way less stressful that way.
1 Like
If Finder shows nothing, stop using Finder as the test. Check System Information first. Hold Option, click Apple menu, then System Information, then USB or Thunderbolt. If the drive shows there, macOS sees the hardware. If it does not, think cable, port, power, enclosure, or the drive board.
I half-agree with @mikeappsreviewer on First Aid first. If the data matters, I would wait on repair tools until I know the drive is stable. A failing bridge board or weak power feed makes repairs a bad bet.
A few checks people skip:
-
Give the drive more power.
Portable HDDs fail to spin up from weak bus power. Use a powered hub, the original power brick, or a Y-cable if the enclosure supports it. -
Look at Disk Utility carefully.
If the physical disk appears but the volume is greyed out, try Mount from the toolbar.
If it shows ‘Not Mounted’ and no file system, the partition map might be damaged. -
Check Terminal logs.
Run:
log stream --predicate ‘eventMessage contains ‘disk’’ --info
Then reconnect the drive. If you see I/O errors, disconnects, or repeated resets, that points to hardware. -
Check if macOS blocks the disk.
Run:
diskutil list
Then:
diskutil info /dev/diskX
Look for ‘Read-Only Media: Yes’, weird partition info, or zero bytes. Those are bad signs. -
Rule out the enclosure.
This gets missed a lot. The SATA-to-USB bridge in cheap enclosures dies before the disk does. If it is a desktop drive inside a USB case, pull the disk and test with another enclosure or SATA dock. Ive seen this fix ‘dead’ drives more than once. -
If it is NTFS, macOS reads but does not write natively.
Sometimes after a dirty unplug from Windows, macOS refuses to mount it cleanly. Test it on a Windows PC and run chkdsk there.
If the disk appears but won’t mount and your files matter, use Disk Drill before erase attempts. It is a solid Mac data recovery app for unreadable or unmounted external drives. This guide on top data recovery software for Mac and Windows is worth a look too.
If the drive does not appear in System Information at all, dont chase Finder settings. That is lower-level than Finder. Start with power, cable, port, and enclosure.
I’d actually check one thing before doing more disk repairs than @mikeappsreviewer suggested: whether macOS is even allowing external media access to Finder apps.
On newer macOS versions, go to System Settings > Privacy & Security and look at:
- Files and Folders
- Full Disk Access
- Removable Volumes if shown for any file manager or recovery tool
Sometimes the disk is connected, but Finder or another process gets weird permissions behavior and it looks like the drive is “missing.” Rare, but I’ve seen it.
Also, try this: open System Information, then check USB or Thunderbolt/USB4 while plugging the drive in. If it appears there consistently but not in Finder, that usually means the Mac sees the hardware layer fine. If it flickers in and out, that smells more like enclosure, cable, or power instability. Different issue entirely.
One more thing people overlook: if the drive is encrypted, macOS may be waiting for an unlock prompt that never pops properly. In Terminal, run:
diskutil apfs list
If you see the container/volume but it says locked, that’s your clue.
And yeah, I agree with @shizuka on this part: if the files matter, don’t go straight to Erase just because Disk Utility is being dramatic. If the drive is visible at all, Disk Drill is worth trying first for an unmounted external drive on Mac, especially if you need to recover files before messing with the structure. Their scan can still see data when Finder acts like the disk dosen’t exist.
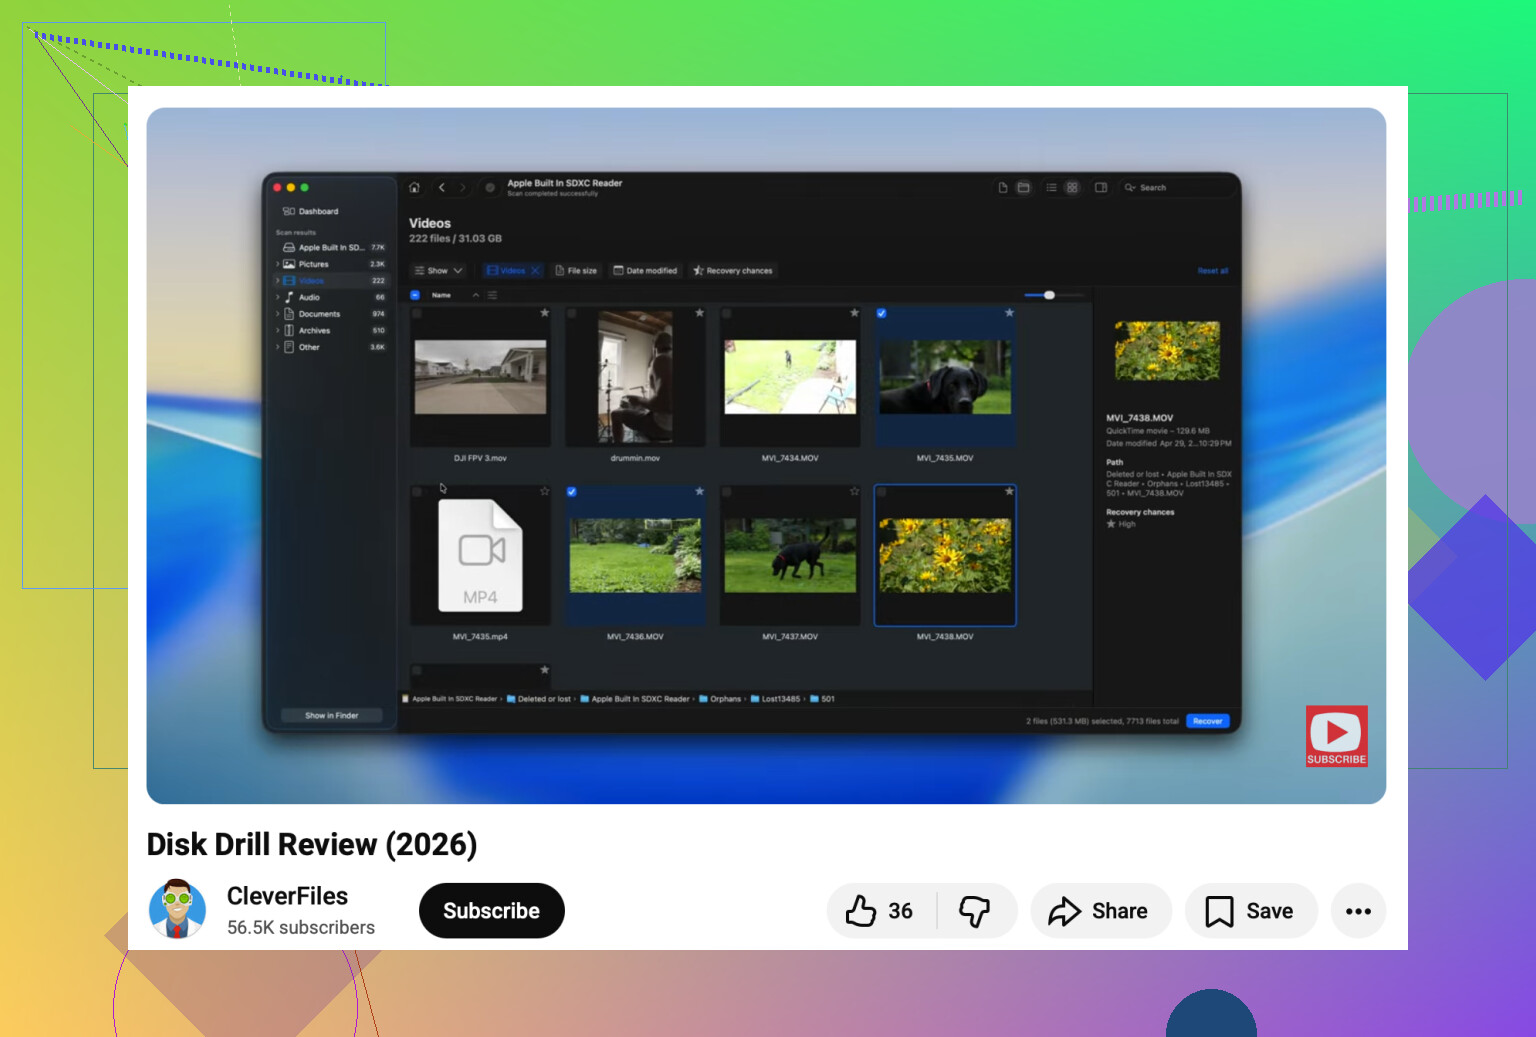
If you want a walkthrough, this step by step video for fixing an external drive that won’t mount on Mac covers the process pretty well.
If the drive never shows in System Information, stop troubleshooting Finder. At that point it’s almost always physical stuff, cable, port, power, enclosure, or a dying drive board.
One angle missing from @shizuka, @sognonotturno, and @mikeappsreviewer: check whether Finder is simply set to hide external disks in the current view state. Not the sidebar toggle they mentioned, but the actual desktop layer can get disabled by profiles, cleanup tools, or Finder plist corruption. I would test with a fresh user account. If the drive appears there, your main account is the problem, not the disk.
Also, Safe Mode is useful here. Boot into Safe Mode, connect the drive, and see if it mounts. If it does, a login item, third-party NTFS driver, antivirus, backup utility, or old kernel/system extension may be interfering. I disagree a bit with the “repair quickly” instinct people have. Too many background disk tools hook into storage and make a shaky drive behave worse.
A couple more checks:
mountin Terminal to see whether macOS mounted it somewhere oddsudo dmesg | grep -i usbright after connecting, for lower-level USB errors- Check Activity Monitor for disk-heavy helpers like backup/sync apps
- If it is an old HFS+ drive, test on an older Mac if possible. Newer macOS versions can be fussier with damaged legacy volumes
About Disk Drill: good option if the drive is detected but won’t mount and you need files first.
Pros:
- easy scan workflow
- can image a failing disk
- decent preview before recovery
Cons:
- not magic if the hardware keeps disconnecting
- deep scans can take ages
- recovery quality depends on file system damage
If the drive spins, appears in hardware info, but refuses Finder and Disk Utility mounting, I’d prioritize recovery with Disk Drill before more write activity. If it never appears at the hardware level, stop thinking Finder bug and start thinking enclosure, bridge board, or dead drive.