My Seagate Backup Plus stopped showing up on my Windows PC after I plugged it in. I’ve tried a different USB port and cable, but it still isn’t detected. I need to recover important files and want the safest next steps before I make it worse.
Stop using the drive for now. That’s the big thing. If the Seagate Backup Plus is showing up as RAW, asking to be formatted, or files suddenly disappeared, leaving it plugged in and letting Windows mess with it can make things worse. Deleted or missing files are often still sitting there, but the space may be marked as available. If something writes over that space, recovery gets a lot harder or impossible.
First, figure out whether this is a physical problem or a file system problem. If the drive is clicking, grinding, spinning up and down over and over, or making some awful loud whirring noise, don’t keep trying recovery software. That usually points to hardware failure. In that case, check Seagate’s Rescue Data Recovery Services and look up your serial number, because some Backup Plus drives include a couple years of recovery coverage with the warranty.
If it sounds normal and Windows just won’t show the files, won’t mount it, or says the disk needs to be formatted, that’s more likely a logical issue. Annoying, but better than a dead drive. The data may still be there, while the file system “map” Windows uses to find it is damaged.
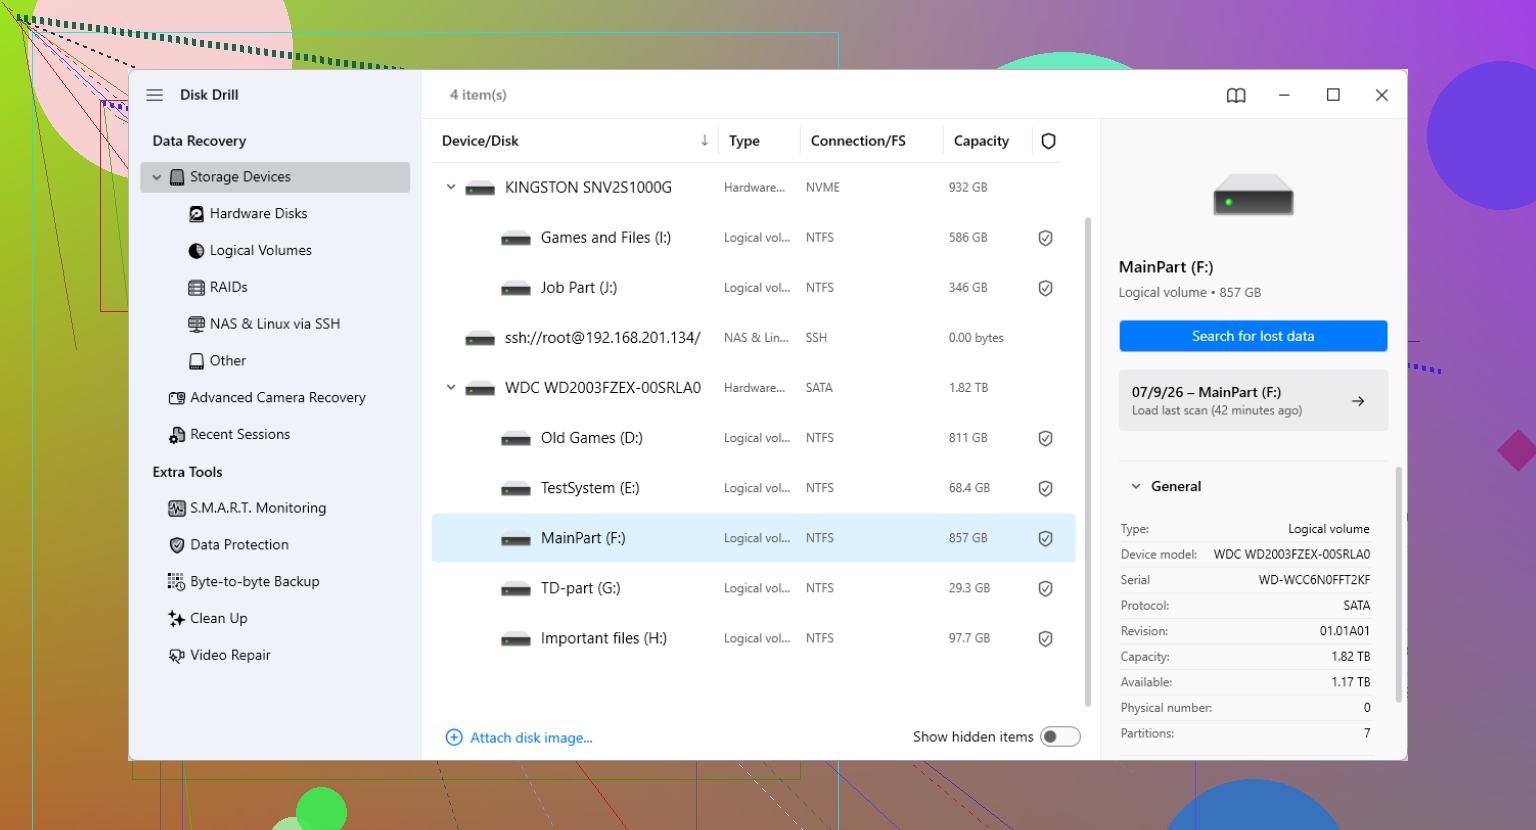
For DIY recovery, I’d usually try recovery software before doing anything destructive. For Seagate external drives, Disk Drill is a decent option, especially when the partition has gone RAW after being unplugged badly or disconnected without safe ejecting.
The safest way to go about it:
- Don’t install anything on the Seagate drive. Install the recovery app on your C: drive or another separate drive. Same goes for downloads, temp files, and recovered files.
- If the drive is unstable, image it first. Disk Drill has a Byte-to-byte backup feature. Use that to make a full disk image of the Seagate drive if you can. Then unplug the actual Seagate and scan the image instead. It puts less stress on the failing drive and gives you a safer copy to work from.
- Use a known-good USB cable. This sounds basic, but bad USB cables cause a lot of “dead drive” scares. If you still have the original Seagate cable, try another one too, since those can fail.
- Run the scan and check previews. Don’t just recover every random file it finds. Use the preview feature where possible. If a photo, document, or video previews correctly, that’s a good sign the file can actually be recovered.
- Recover to a different drive. Never save recovered files back onto the Seagate you’re scanning. Use your internal drive, another external drive, or anything with enough free space that is not the problem drive.
If the recovery software doesn’t list the drive, open Disk Management in Windows. If the drive shows there with the correct capacity, like 2TB or 5TB, recovery software often still has a shot even if File Explorer can’t read it.
After you get the files back, don’t trust the drive right away. Grab SeaTools from Seagate and run the Long Generic Test. If it fails, retire the drive. If it passes, you can format it and reuse it, but I’d still keep another backup from now on.
Large drives can take a long time to scan, so don’t panic if it crawls. If the drive is still spinning normally and the problem is only logical corruption, the odds are usually pretty decent.
1 Like
Check Device Manager before doing anything else, especially under Disk drives and Universal Serial Bus controllers. If Windows only sees an “unknown USB device” or keeps connecting/disconnecting, recovery software like Disk Drill may not even get a clean shot, and you’re probably dealing with the enclosure/USB bridge or the drive hardware rather than just a missing partition.

If Windows does not detect the drive at all, recovery software is probably not the first step yet. Disk Drill or any other recovery app needs the drive to appear somewhere, even if it shows as RAW, unallocated, or with no drive letter. If it is completely absent from Device Manager and Disk Management, the problem is more likely power, the USB bridge, the enclosure, or the drive itself.
A detail people miss: if Disk Management pops up and says the disk must be initialized, cancel it. Do not initialize, format, assign a new volume, or run CHKDSK. Those are repair actions, not recovery actions, and they can make a messy file system harder to recover from. At most, look at whether the correct capacity is shown. Correct size is a good sign. Wrong size, 0 bytes, or constant connect/disconnect is a bad sign.
Since you already tried a different cable and port, I’d try one more computer before doing anything bigger, preferably plugged directly into the machine and not through a hub. If it appears there, copy the most important files first or make an image before scanning. If it still never appears anywhere and the files matter a lot, stop testing it over and over. Repeated plug-in attempts can turn a recoverable failing drive into a worse one. At that point a recovery lab is the safer route, even if it is annoying and more expensive.
Do not crack open the Seagate enclosure as the next “easy” step. A lot of people jump straight to removing the drive and plugging it into a SATA dock, but with some external drives the USB bridge can change how the disk is presented to Windows. In some cases you can make a readable drive look unreadable, or you can lose the one clue that told you whether the enclosure was the problem. If the data matters, don’t turn this into a science project yet.
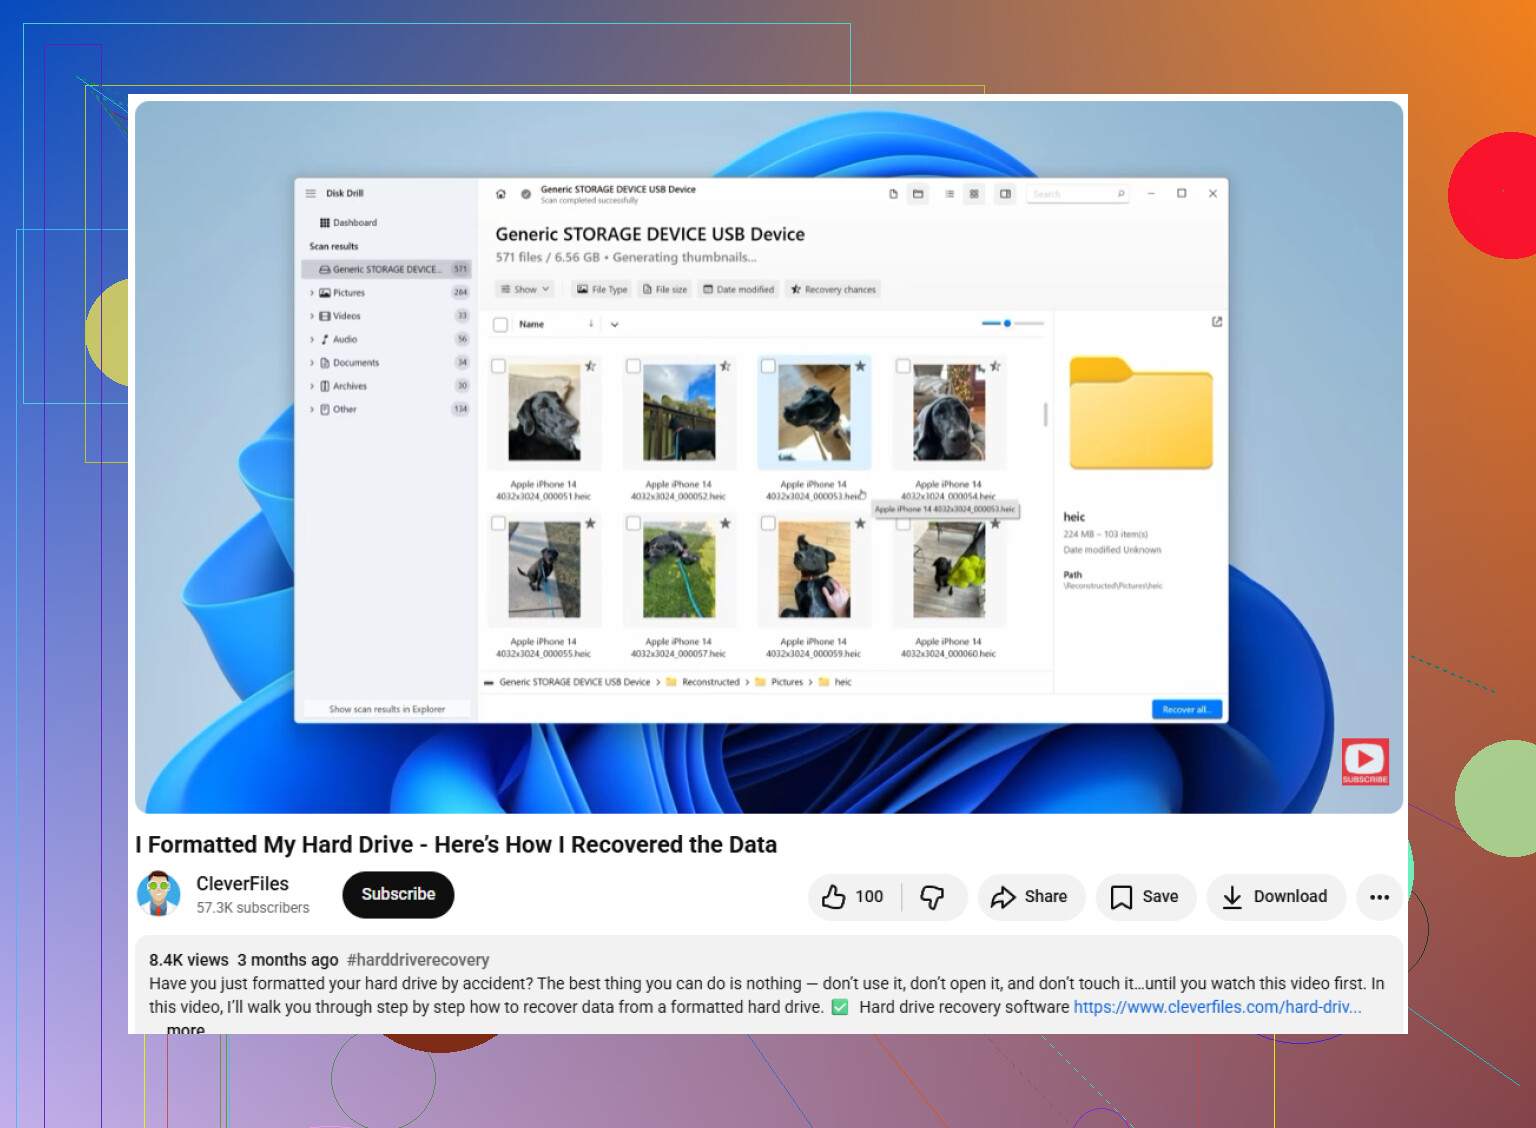
I agree with the earlier point that recovery software is not useful until the drive is visible somewhere. File Explorer does not count as the only test, though. Check these in order: Device Manager, Disk Management, and preferably another computer. If it appears in Disk Management with the correct size, even with no letter or as RAW, then you have a software-level recovery path. That is when something like Disk Drill can make sense, ideally after imaging the drive first. If it never appears at all, that is a different problem.
The small thing I’d check before giving up is power. If this is a portable Backup Plus, plug it directly into a rear motherboard USB port on a desktop, not a front panel port, hub, keyboard, monitor, or docking station. If this is a larger desktop Backup Plus with a separate power brick, verify the power adapter is the correct one. Wrong voltage or a weak adapter can make the drive spin weirdly or not enumerate at all. Don’t keep cycling power dozens of times, but one clean test with a known-good setup is reasonable.
If Windows gives you any prompt like “initialize disk,” “format before use,” or “scan and fix,” back out. Those prompts mean Windows has noticed something, but it does not mean Windows knows how to safely repair it. At that stage, your goal is copying or imaging, not fixing.
If the drive is silent, clicks, spins up then stops, or vanishes every few seconds, I’d stop there and price out a lab before trying more tools. If it shows correctly once, copy the irreplaceable stuff first instead of starting with a full scan of everything. People waste the healthiest hour of a dying drive scanning for old downloads while the documents and photos are still sitting there.