My Mac’s APFS drive stopped mounting after a recent issue, and I’m worried about losing important files. I haven’t tried much yet because I don’t want to overwrite data or make recovery harder. What are the safest APFS data recovery steps or tools to try first?
First thing: stop using that drive right now. Emptying the Trash, deleting the wrong folder, or even formatting an APFS volume doesn’t always mean the files are instantly wiped. A lot of the time the data sits there until macOS or another app writes something over it. That’s why continuing to use the Mac is usually what ruins the chances.
Don’t save anything new to the affected drive, don’t reinstall macOS onto it, and don’t start running repair tools yet. I’d also avoid First Aid, TestDisk, or anything that tries to “fix” the disk before you’ve copied your important files somewhere safe. If it’s an external drive, unplug it until you’re ready to work on recovery.
If you have Time Machine, check that first. It’s the least painful option. Even if the backup drive isn’t currently plugged in, still open Time Machine because APFS may have local snapshots available, and sometimes those can bring back recently deleted files.
If there’s no backup
Then recovery software is probably the next best move.
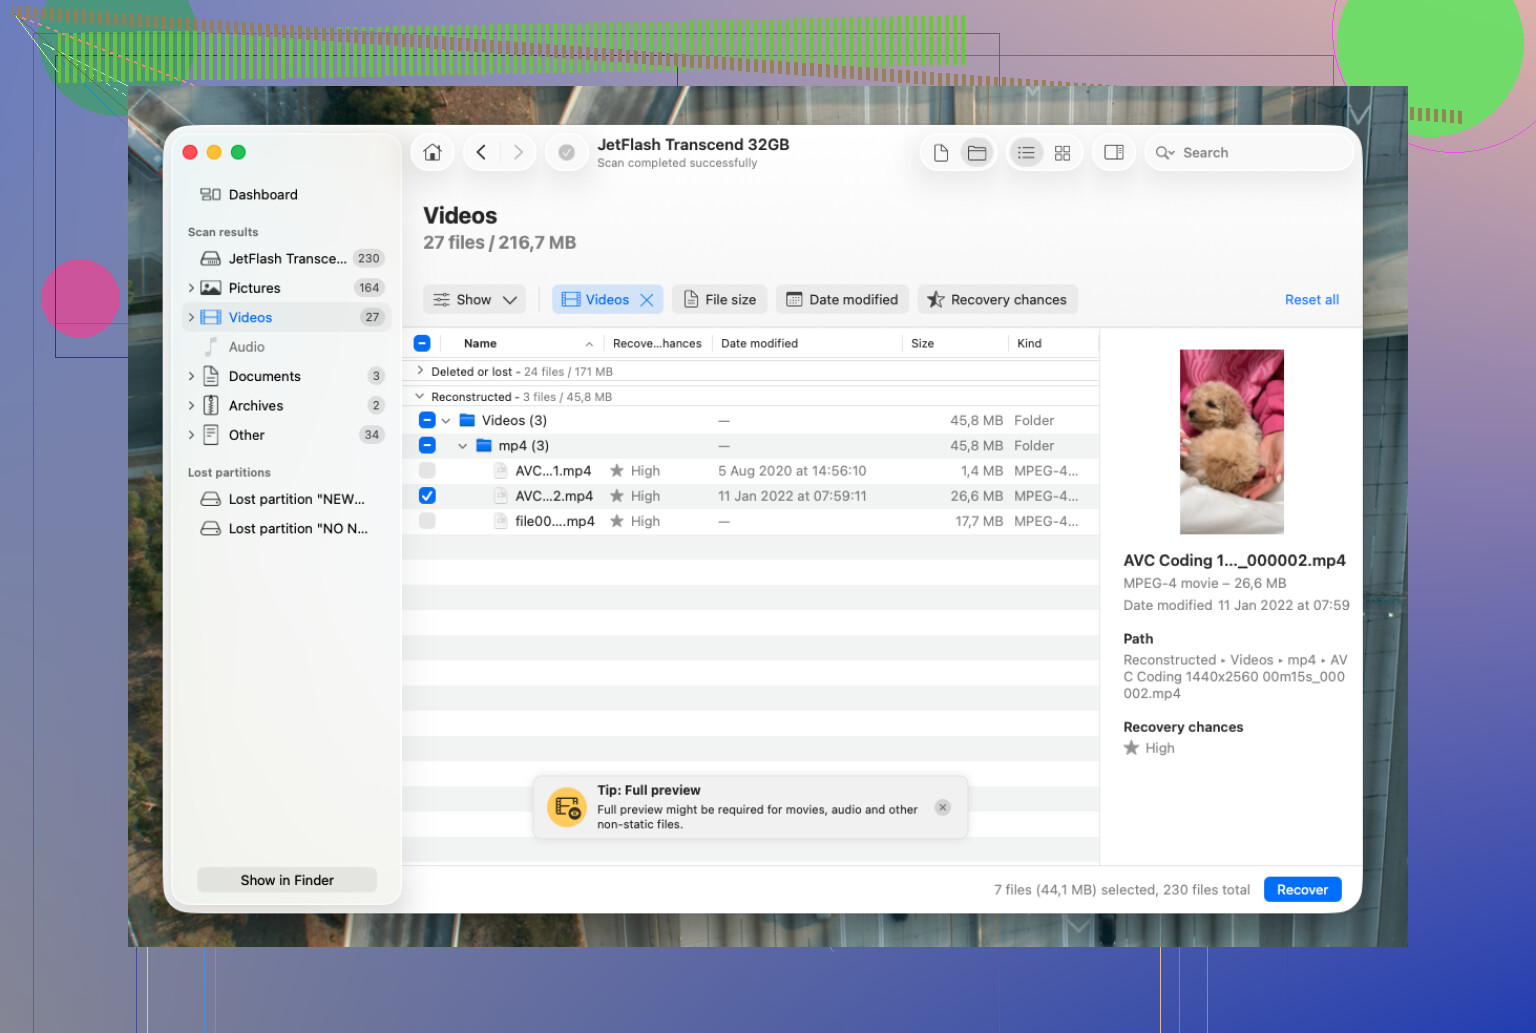
I’d try Disk Drill first because it can read APFS in a more useful way than tools that only scan for file signatures. That matters because you may get back filenames, folders, and metadata instead of a giant pile of files with random names. It’s also meant for cases like deleted files, formatted APFS volumes, and damaged APFS containers.
The basic process would be:
- Install Disk Drill somewhere other than the drive you’re trying to recover from, if you can.
- Connect the APFS drive, or choose the internal drive if that’s where the deletion happened.
- Give it Full Disk Access in macOS Settings so it can properly scan the volume.
- Select the drive and run Search for Lost Data.
- Let the scan finish instead of stopping it early.
- Use preview to check whether the photos, videos, documents, or whatever else you need are actually recoverable.
- Recover the files to a different drive. Never save recovered files back onto the same APFS volume.
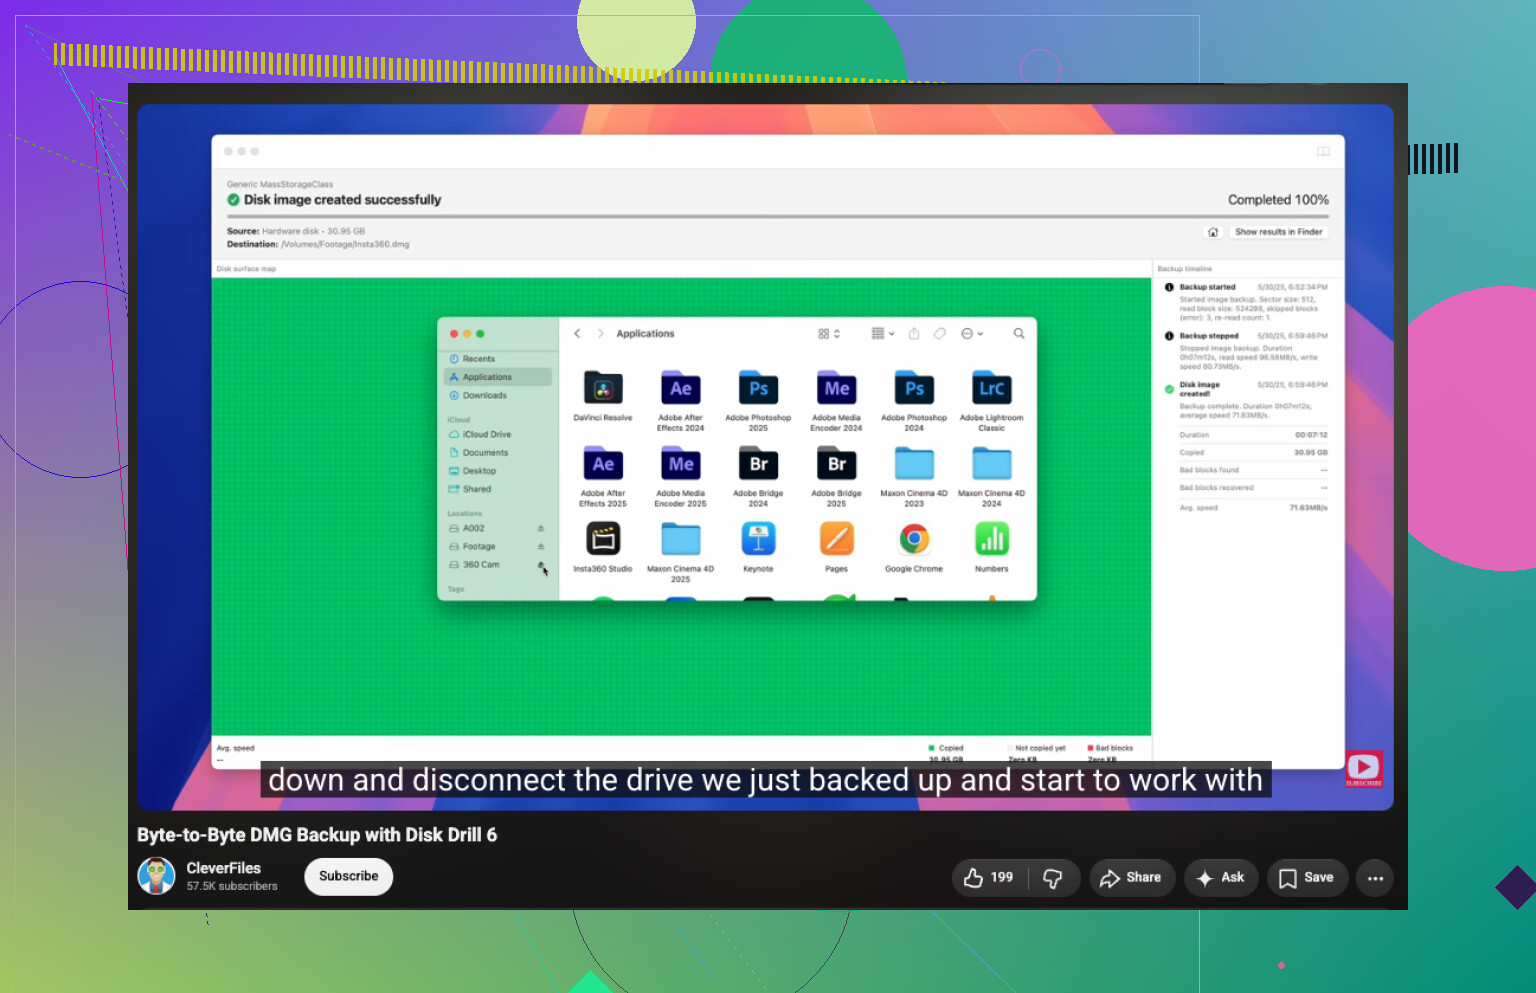
If the drive seems flaky, I’d make a disk image first and scan that instead of hammering the original drive over and over. Disk Drill can also show S.M.A.R.T. health information, which is useful for figuring out whether this is just a file system problem or the drive itself is failing.
Other tools worth knowing about
PhotoRec is free and can be very effective, especially for photos, videos, and documents. The tradeoff is that it works mostly by file signatures, so you usually won’t get the original filenames or folder structure back. Still, it’s a solid fallback if the first scan doesn’t turn up what you need.
TestDisk can help when the APFS partition structure is damaged, but I would not make it the first thing you run. Recover the files you care about before trying to rebuild or change partitions. If a partition table repair goes sideways, recovery can get messier.
One catch with Macs that use an internal SSD: TRIM can make deleted data unrecoverable once those blocks are cleared. So speed matters. Also, if an encrypted FileVault APFS volume was formatted and the encryption keys are gone, software recovery usually isn’t going to help.
When software recovery is a bad idea
I’d stop and talk to a professional recovery lab if the drive:
- keeps disappearing or isn’t detected reliably,
- clicks, grinds, or beeps,
- disconnects during scans,
- freezes the Mac whenever you access it,
- or shows serious S.M.A.R.T. warnings.
Those are usually hardware symptoms. Repeatedly powering up a failing drive or forcing long scans can make things worse.
A decent recovery lab will often give a free evaluation, and many use a no data, no fee setup. Logical recovery commonly starts around $300–500, while drives with physical damage can easily be $1,000 or more, depending on what failed.
If this was just an accidental deletion or format, you’ve got a much better shot. Just don’t write anything else to that drive, don’t try to repair it first, and recover the files to a separate disk as soon as you can.
1 Like
Don’t aim recovery at the APFS volume name if the container is damaged, scan the whole physical disk or an image of it instead. APFS can look like several volumes, and picking only “Macintosh HD - Data” or one greyed-out volume may miss files that are still in the container.
Booting the Mac from that same APFS disk can be the thing that quietly makes the situation worse. Even if you are “not doing anything,” macOS may be writing logs, swap, caches, Spotlight data, and snapshot changes in the background. So if this is the internal drive and the files matter, I’d shut it down rather than keep testing from the same installation.
Jeff’s point about scanning the whole physical disk is the right direction, but I’d take it a step earlier: decide how you’re going to access it without letting macOS poke at it too much. Best case is another Mac, an external boot drive, or Recovery/Target Disk Mode so the bad drive is treated as the patient, not the operating system drive. And if macOS pops up with “initialize,” “erase,” or “repair” prompts, cancel them. Those prompts are not recovery steps.
Disk Drill or another APFS-aware tool is fine if the drive is stable, but I would not make the first scan the only copy of your chance. If the disk is readable, image it to a different drive first, then scan the image. If you don’t have enough spare storage for a full image, that’s the annoying practical limit people forget: recovery usually needs at least one extra drive for the image and another place for recovered files. Trying to recover everything back onto the same disk is where people turn a fixable mess into a permanent one.