I’m trying to clean up my iPad photo library, but many duplicates aren’t exact copies—they’re slightly cropped, edited, or taken seconds apart. The Photos app doesn’t seem to catch them all. What’s the best way to find and remove similar duplicate photos on an iPad without deleting the wrong pictures?
The first thing I’d check is whether you’re dealing with true duplicates or just a bunch of near-duplicates. That difference matters.
A lot of photo libraries look like they’re packed with duplicate photos, but once you start going through them, many are really just almost the same image. Same selfie taken three times, five shots of the same sunset, one version saved from Messages and another edited somewhere else. Apple’s duplicate finder is pretty strict, so it often misses those.
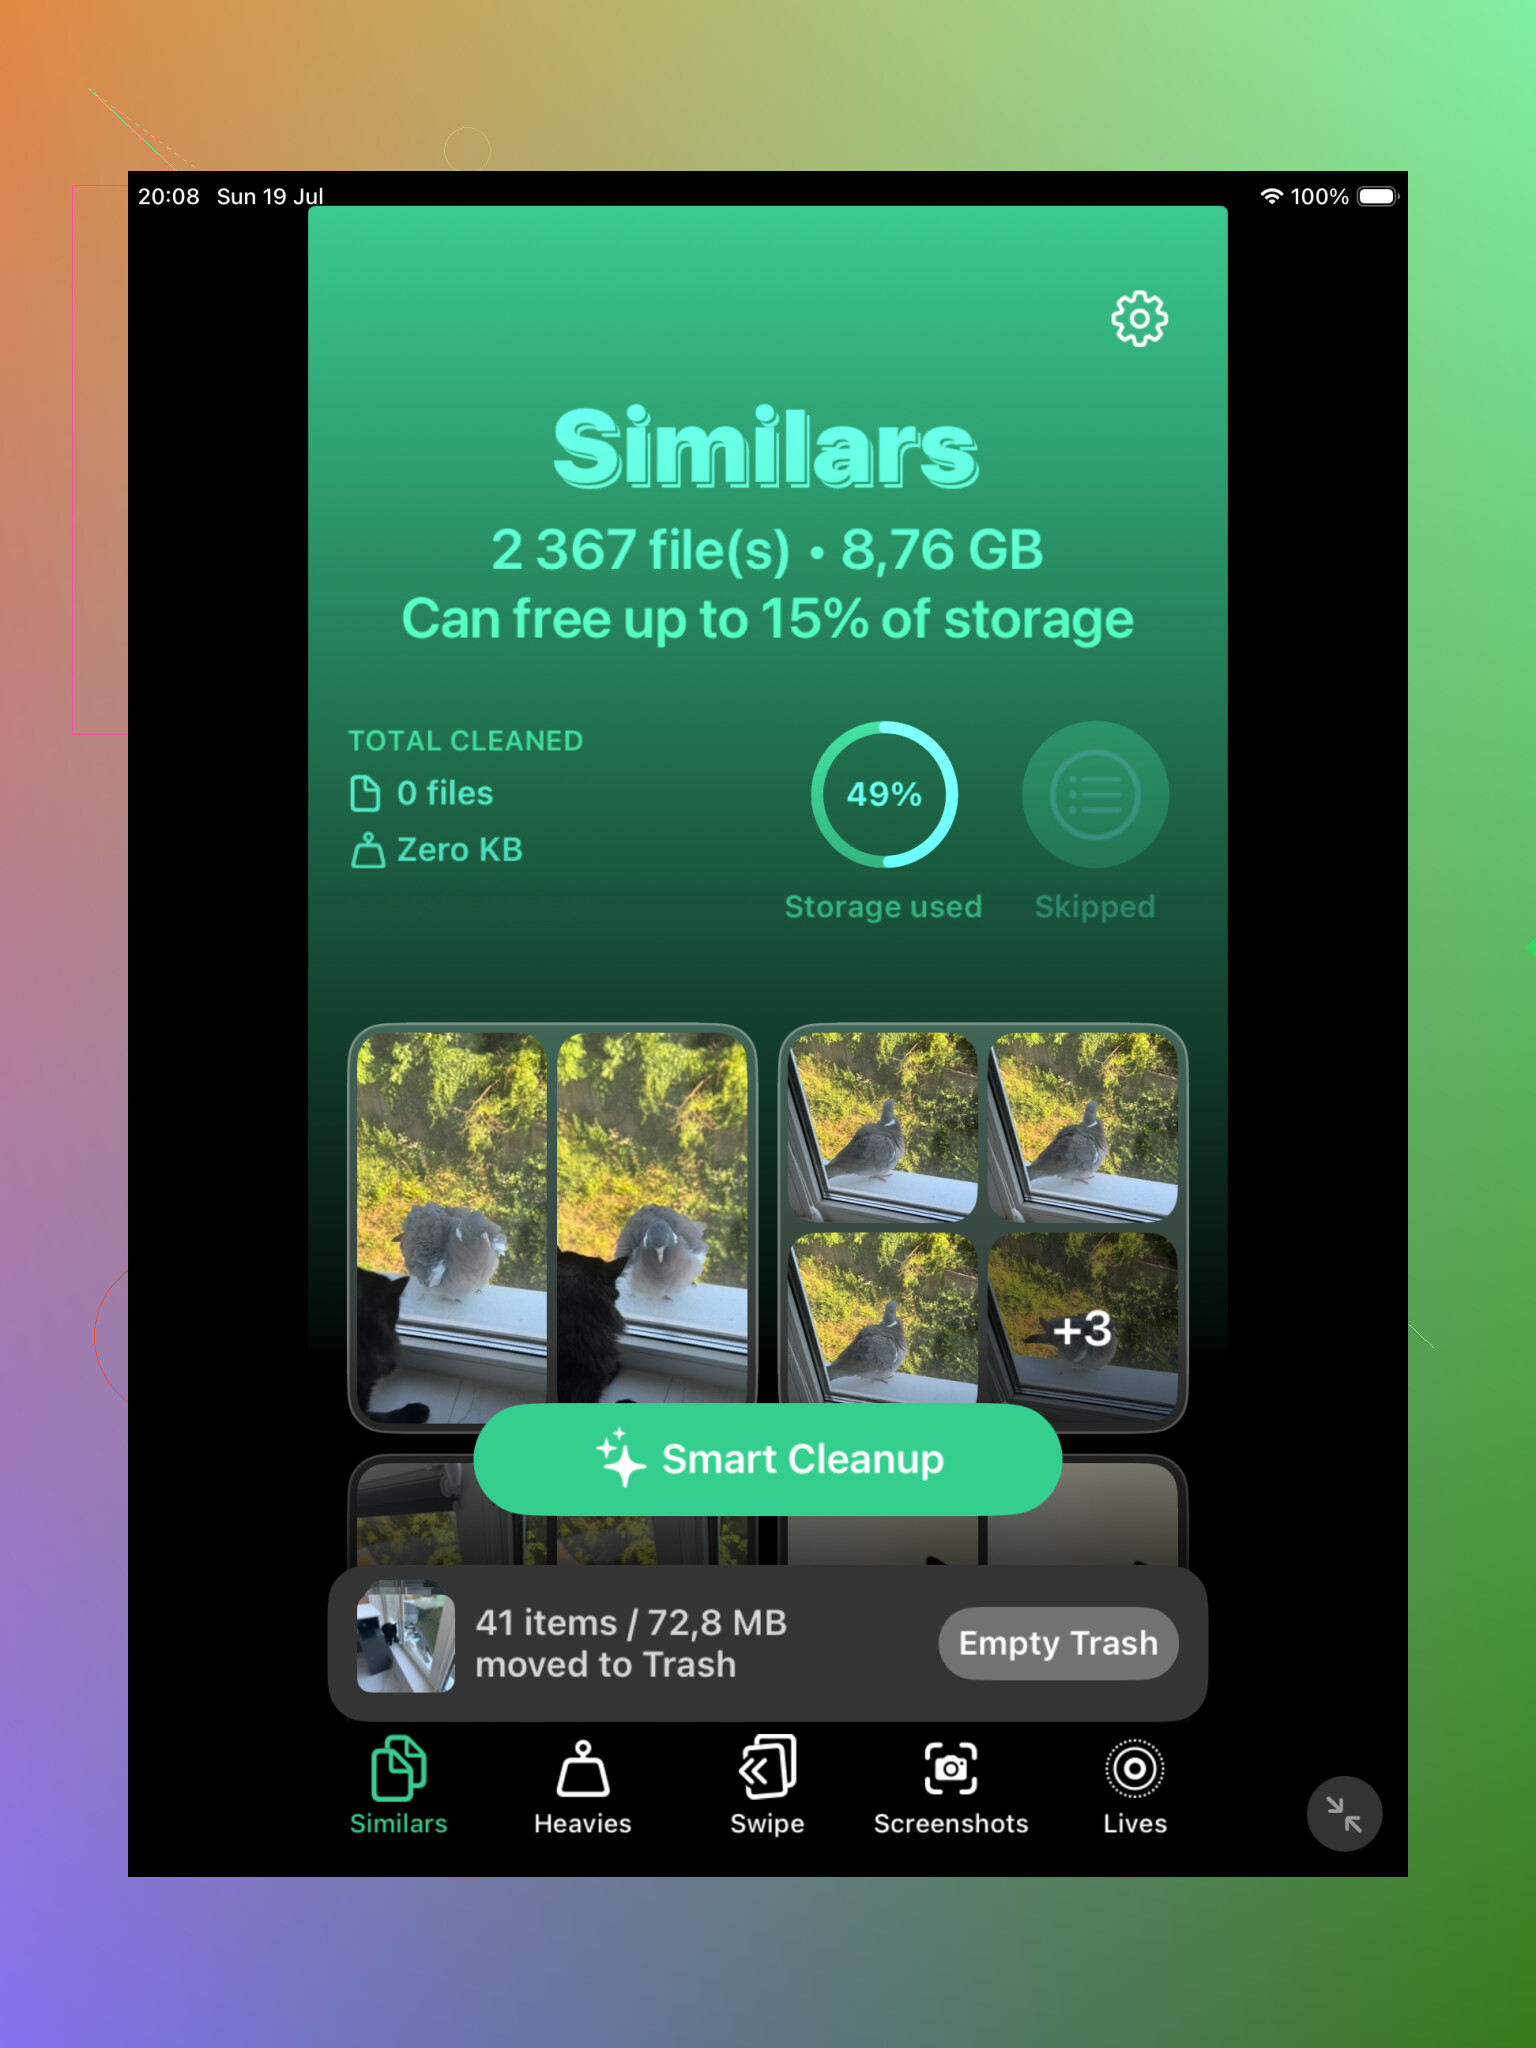
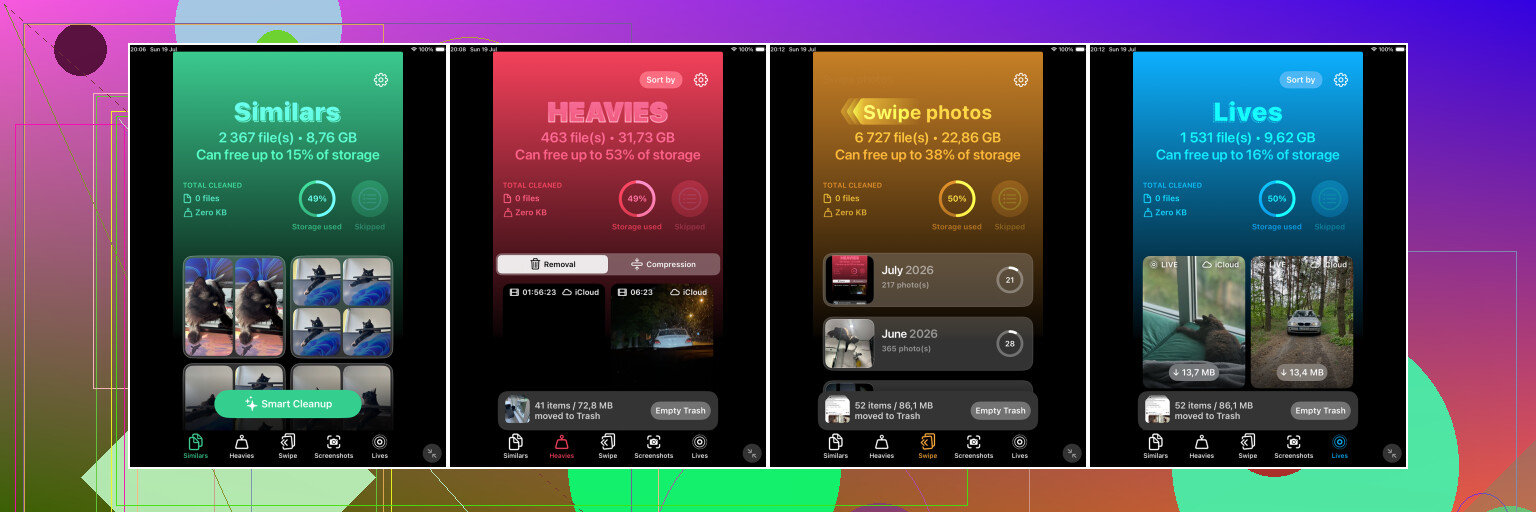
If the library is big, I’d probably start with Clever Cleaner. Its Similars section is useful because it groups photos that look nearly identical, even if they aren’t technically the same file. That’s usually where most of the clutter is, especially with repeated selfies, burst-like shots, and photos taken from almost the same angle.
It also picks a Best Shot for each group, but you don’t have to trust it blindly. You can open the group, compare the photos yourself, and choose what to keep. That’s a lot less annoying than bouncing around in the Photos app, zooming in and out trying to decide which one is sharper.
Clever Cleaner can find exact duplicates too, so it’s a decent first pass if your photo library has been building up for years and you don’t really know what’s in there. The main reason to use it is that it catches both actual duplicates and photos that are just very similar.
After that, it’s still worth checking Apple’s built-in Duplicates album.
On iPadOS 16 or newer, open Photos, scroll down to Utilities, then tap Duplicates. Apple will group matching items and show a Merge option. When you merge them, it keeps the version with the best quality and useful metadata, then sends the extra copies to Recently Deleted.
That tool works fine for exact matches, but it’s picky. If one photo was cropped, edited, compressed, saved from another app, or taken a second later, Apple may not count it as a duplicate. So it’s normal to open the Duplicates album and see only a handful of results even when your library clearly has tons of repeated-looking shots.
If you don’t see the Duplicates album at all, your iPad may still be scanning the library. This can happen after a big iCloud sync, a large import, or a software update. Leave the iPad plugged in and locked for a while. With a large library, it can take a day or two to show up. Also, the feature isn’t available on iPadOS 15 or older.
For a small library, Apple’s tool might be enough. If you mostly copied the exact same files a few times, there’s probably no need to install another app. But if you have thousands of photos and lots of repeated shots, Clever Cleaner will usually turn up more things to review.
You can also do it manually in Photos if you’d rather not use another app. Search for things like “screenshots,” “dog,” “beach,” or a city name. Browsing by Months or Years can also help with trips, holidays, and events where you probably took multiple versions of the same scene. It’s slower, but it works.
One last thing: merged or deleted photos stay in Recently Deleted for up to 30 days, and they still use storage until they’re removed from there. Check that album before emptying it, especially if you’re trying to free up space right away.
And if iCloud Photos is turned on, deleting photos on your iPad also deletes them from your iPhone, Mac, and other Apple devices. Make sure you’re okay with removing those copies everywhere before you permanently delete anything.
1 Like
Don’t bulk-delete similar photos from a cleanup app or the Duplicates album until you’ve checked whether they’re Live Photos, edited versions, or different resolutions. Near-duplicate tools are useful, and Mike’s point about Apple being strict is right, but the flip side is that “similar” can include the one shot with the better expression, the original before a crop, or the only version that still has depth/Live data. My safer workflow would be: run the similar-photo scan, mark obvious junk only, then leave anything questionable alone for a second pass in Photos where you can zoom and inspect details. It’s slower, but it avoids the annoying mistake of keeping the prettiest thumbnail while deleting the technically better file.
Exact duplicates are a file problem, near-duplicates are a judgment problem. Apple can help with the first, but the second usually needs a workflow where you decide what counts as “same enough.”
For an iPad-only cleanup, I’d separate the job into two passes instead of trying to solve it all with one button.
First pass: use Photos to remove the obvious stuff. Go to Albums, then look under Media Types and Utilities. Screenshots, screen recordings, imports, duplicates, blurry videos, and saved images from apps are usually easier wins than comparing ten almost-identical portraits. This gets rid of low-risk clutter before you start making harder decisions.
Second pass: use a similar-photo scanner if the library is big. Clever Cleaner or any similar app is useful here because it groups photos by visual similarity instead of only matching files. That’s the part Apple’s Duplicates album won’t do well. But I wouldn’t treat its “best” pick as final. Use it more like a sorting tray: it finds the pile, you choose what leaves.
The bit people forget is that the best keeper is not always the sharpest-looking thumbnail. Sometimes the worse-looking version is the original, has the uncropped frame, has Live Photo motion, has portrait depth, or has better date/location info. Stella’s warning there is worth taking seriously. If two images are close but one has edits you like, use Photos’ “Revert to Original” option as a clue before deleting anything. If it can revert, you may be looking at an edited copy rather than a totally separate photo.
A practical trick: sort by date and clean one event at a time. Don’t scan your whole library and then try to decide on 900 groups while bored. Pick a trip, birthday, pet photo session, recipe folder, whatever. Near-duplicates usually cluster around moments, and your memory of the event helps. “This is the one where everyone is smiling” is a better rule than “this file is 1.8 MB larger.”
If you use iCloud Photos, be extra boring and conservative. Deleting from the iPad deletes from iCloud and your other devices too. Recently Deleted gives you a safety net for a while, but it is still very easy to clean on the couch, empty it later, and realize the Mac and iPhone are missing the same photos.
My rough approach would be:
Open Photos’ Duplicates album and merge only the obvious matches.
Use search or Media Types to clear junk categories.
Run a similar-photo app for visual groups.
Review groups manually, especially Live Photos, portraits, edited photos, and anything from an important event.
Leave borderline groups alone. A photo you are unsure about is not clutter yet.
If storage space is the real problem, videos are usually the bigger target anyway. A few hundred similar photos may feel messy, but a handful of long videos or screen recordings can take more space than all of them. So I’d check videos before spending hours choosing between nearly identical shots of the same sunset.
If your goal is freeing iPad storage rather than making the library look cleaner, check whether iCloud Photos is set to “Optimize iPad Storage” first. The scanner advice above is fine for finding near-duplicates, but deleting a bunch of similar photos may not free much local space right away because iPadOS manages those cached originals itself. For actual space, I’d hit videos, screen recordings, and downloaded app media before spending an afternoon choosing between almost-identical photos.