My hard drive started showing bad sectors after my computer froze during a file transfer, and now I can’t access important photos and work documents. I’m looking for the best way to recover data from a failing hard drive without making the damage worse.
If your drive is spitting CRC errors, stop touching it
I learned this the hard way once. A drive starts freezing when you open folders, throws CRC read errors, or stalls mid-copy, and the first instinct is to keep poking it. Bad move. If it is an external drive, unplug it. If it is your main internal drive, shut the machine down.
Keeping it powered gives the drive more chances to keep hitting the same bad spots over and over. Windows also likes to step in and ‘fix’ things on its own. Those extra read attempts and write attempts are where a salvageable mess turns uglier fast.
Two kinds of failure usually show up here
Sometimes the issue is with the recorded data layout, not the hardware. I have seen this after a sudden power loss and after a system crash. The sector data no longer matches the error correction info, so the drive reports trouble even though the platter or flash cells are not dead yet. People call those soft bad sectors.
Then there is the other kind. Hard bad sectors. That means the drive itself is degrading. Media damage, weak head, aging internals, stuff like that. No app fixes physical damage. Software only skips around it, marks it off, or tries to copy what still reads.
Why I would not run CHKDSK first
A lot of forum replies jump straight to CHKDSK. I get why. It can bring a broken filesystem back into a mountable state. But if your goal is saving files, it is a rough first step.
CHKDSK is built to repair filesystem structure, not preserve every byte. If directory entries or references are broken, it might throw parts away so the volume looks consistent again. Cleaner volume, fewer recoverable files. I’ve seen people do this and then wonder why recovery tools show less afterward. Not great.
The safer route is to avoid changing the failing disk at all. Clone it, sector by sector, onto a healthy drive. Or make an image file. Then leave the original alone and work from the copy.
What I would do at home
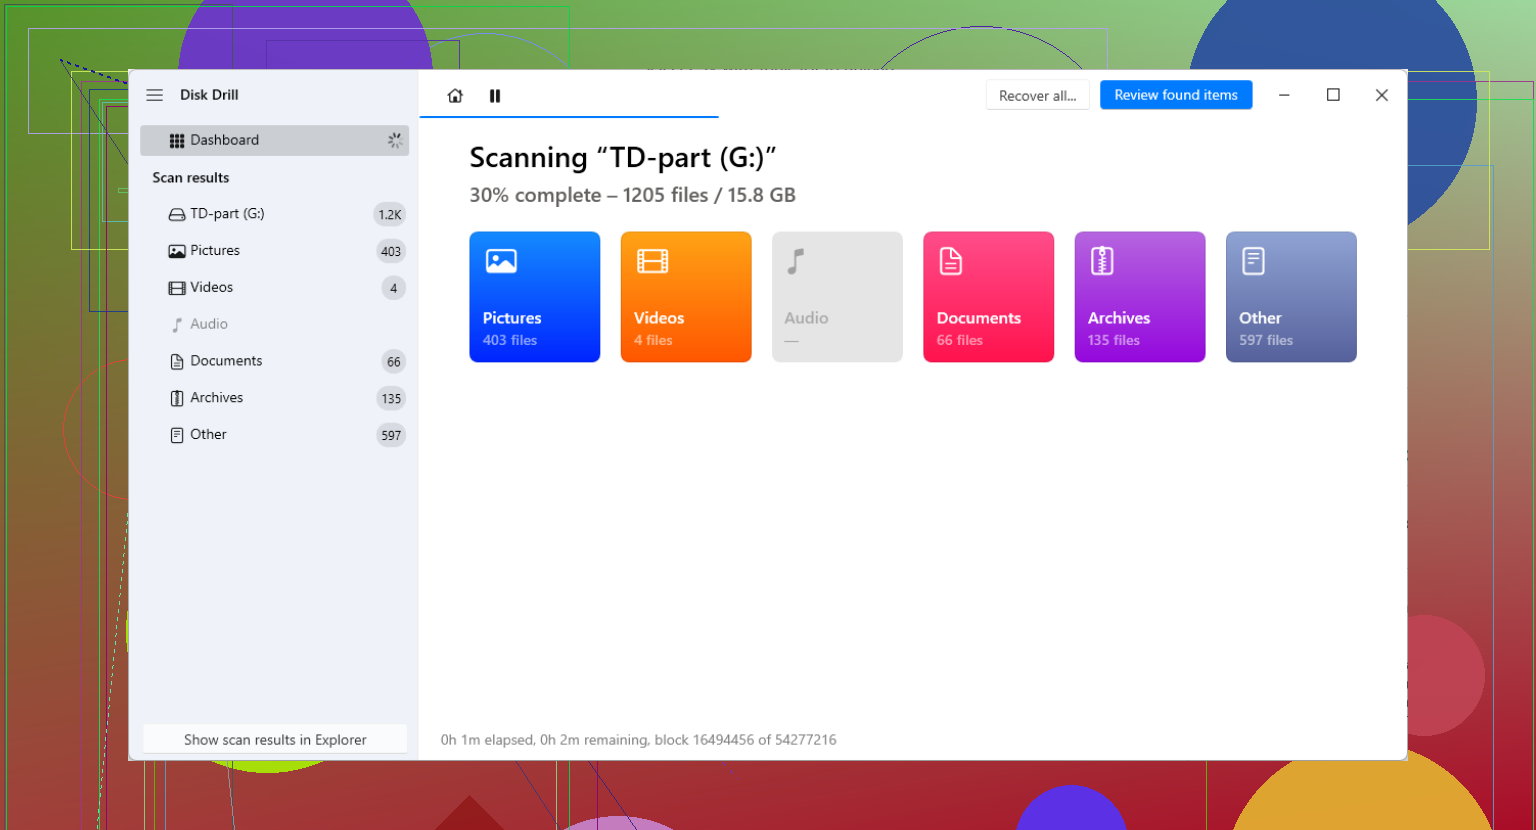
If you’re doing this yourself, recovery software is the practical path. Disk Drill is one option people use because it includes byte-level backup tools, which matter when the drive is unstable.
What matters more than the brand name is behavior. Older tools often hit one unreadable block and sit there forever. Better ones skip the ugly parts first, grab the easy data, then come back and retry damaged areas in smaller chunks. That reduces wear on a dying drive and usually gets more off it before it quits. Tiny difference on paper, big diff in practice.
The workflow I would stick to
- Get a healthy destination drive with enough free space.
- Make a full image or clone of the failing drive.
- Mount or load that image in the recovery software.
- Scan the image, not the original disk.
- Save recovered files to another healthy location.
The failing drive should stay powered on only long enough to image it. Do not recover files back onto the same damaged device. I know people still do this. It is a bad idea every time.
When DIY stops making sense
Some symptoms are in a different category. Clicking. Grinding. Beeping. No spin. Drive not detected at all.
At that point I would stop. Software is not for mechanical faults. If the files matter, lab recovery is the safer route. Shops like Gillware or Techchef deal with this sort of thing in cleanroom conditions and use hardware most home users will never touch.
The price hurts. Common numbers land somewhere around $500 to $3,000, depending on what failed and how ugly it got. If the data is replaceable, most people pass. If it is family photos, tax archives, old work, source files, stuff you do not get twice, the math changes.
After recovery, then test if you want
Once your files are copied out and you’ve opened a bunch of them to confirm they are not corrupt, then you can think about wiping or testing the original drive.
A full format or chkdsk /r will mark bad sectors so the OS avoids them later. Fine. That still does not make the drive trustworthy again. A drive that starts doing CRC errors and read hangs has moved out of ‘important storage’ duty. I would retire it.
The boring fix that saves you later
Backups. The 3-2-1 rule is still the sane one.
- 3 copies of your important data
- 2 different storage types
- 1 copy off-site or in cloud storage
It takes an afternoon to set up. Recovery takes days, and sometimes you still lose.
1 Like
Bad sectors after a freeze usually means your first goal is triage, not repair. I agree with @mikeappsreviewer on avoiding heavy writes to the drive. Where I differ a bit is this, if the drive still mounts and reads some folders, I’d grab the most irreplaceable files first before a full image, photos, current work docs, password vaults, stuff like that. Drives sometimes die mid-process, so a fast priority copy matters.
A few practical checks.
-
Look at SMART data with CrystalDiskInfo or smartctl.
If you see reallocated sectors, pending sectors, or uncorrectable errors climbing, stop testing and start copying. -
Keep the drive cool.
Overheating makes read errors worse. A desk fan pointed at an external drive sounds dumb, but I’ve seen it help. -
Try a different connection path.
New SATA cable, different USB cable, different port, direct motherboard SATA if it was in a flaky USB enclosure. CRC errors are sometimes cabling, not platter damage. People miss this a lot. -
Use recovery software with imaging support.
Disk Drill is a solid pick here because you want to recover data from a failing hard drive with bad sectors in the least stressful way possible. If it reads the disk, make an image first, then scan the image. -
If Windows hangs on access, try Linux.
A live Ubuntu USB sometimes reads problem drives more calmly than Windows Explorer does. Less background nonsense.
Do not defrag it. Do not run benchmark tools. Do not keep rebooting and rescanning for fun. That’s how pepole turn a bad drive into a dead drive.
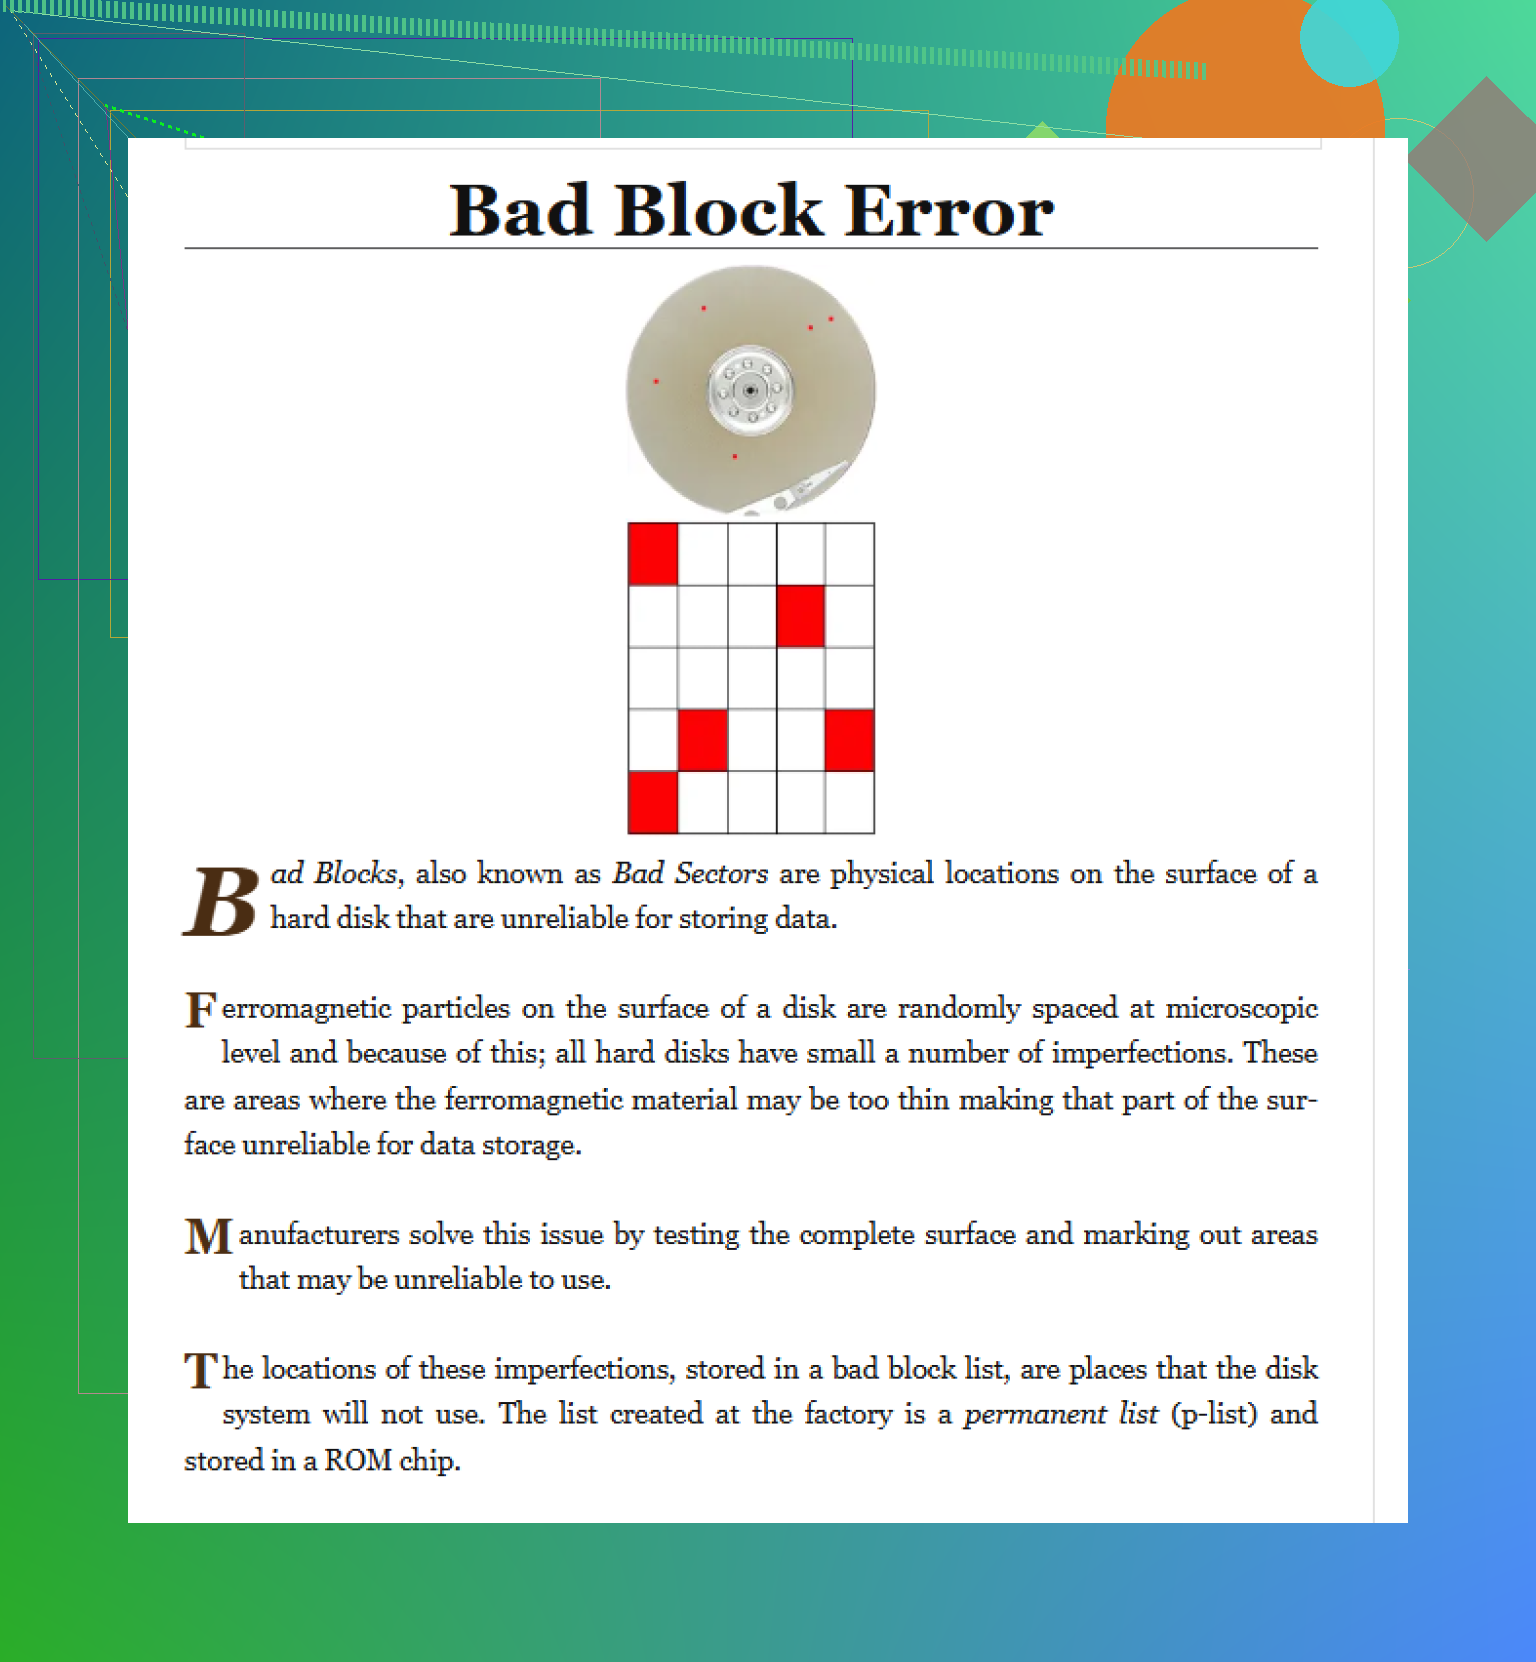
If you want a plain explainer on bad block handling, this page is decent:
how hard drives track and manage bad blocks
If the drive clicks, drops offline, or reads at 0 to 1 MB/s with constant freezes, skip DIY and send it to a lab. That’s the line for me.
I’m mostly with @mikeappsreviewer and @codecrafter, but I’d push one extra angle people skip: figure out whether this is actually media damage or just a transport problem before you burn hours on recovery attempts.
CRC errors and “bad sectors” can come from a junk USB bridge, bad cable, weak power brick, or flaky enclosure. If it’s an external HDD, pull the drive from the enclosure if possible and connect it straight by SATA. I’ve seen “dying” drives magically become readable that way. Not always, obvously, but enough that it’s worth checking.
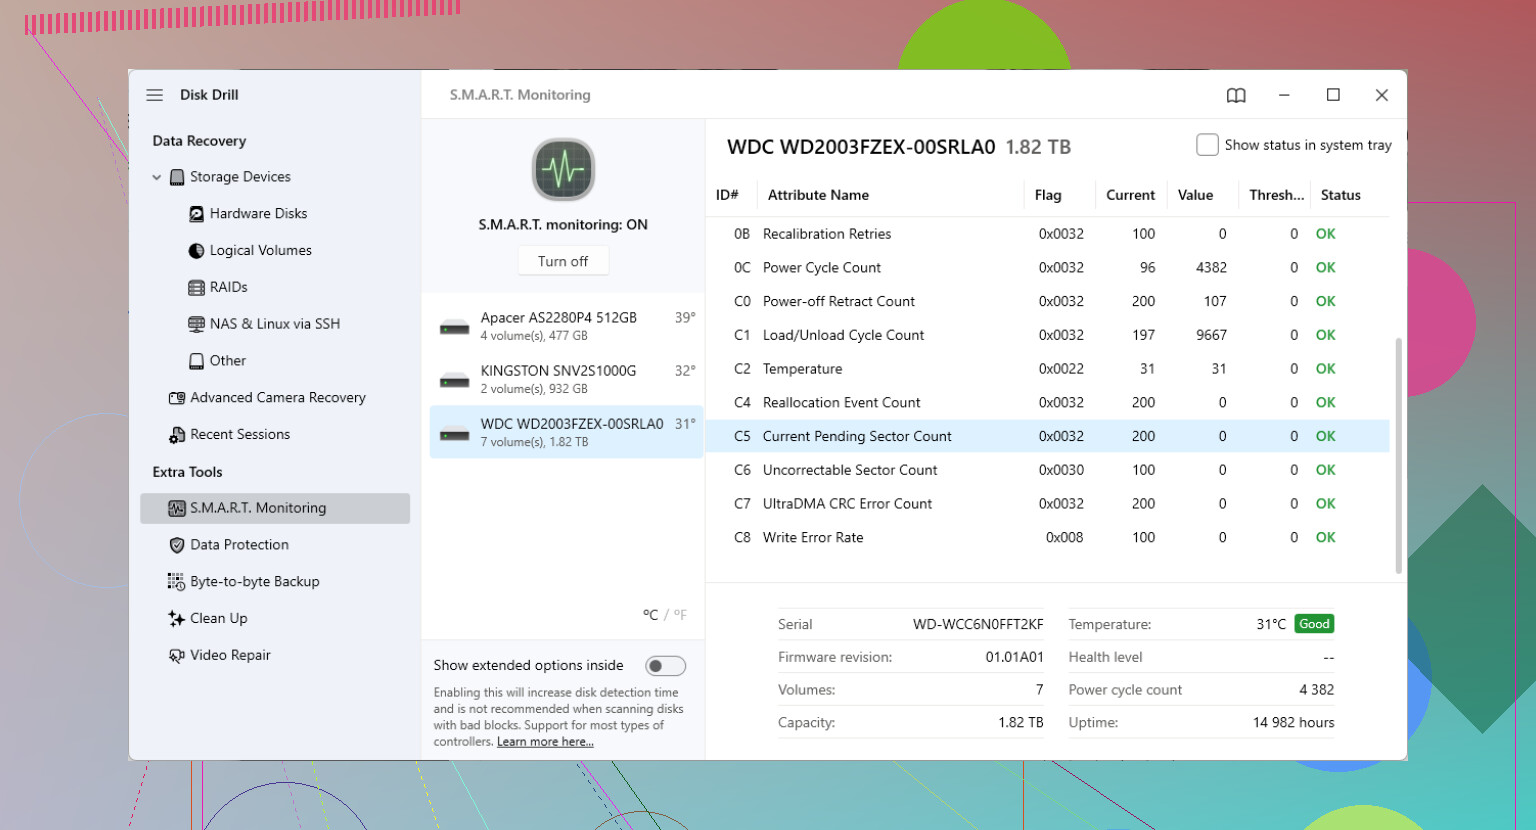
Also, I would not trust a drive health app that just says “Good.” Look at the real SMART attributes, especially pending sectors, reallocated sectors, and uncorrectable reads. A plain-English explainer here: how to read SMART bad sector counts before your drive dies.
One place I slightly disagree with @codecrafter: if the drive is degrading fast, cherry-picking files in Explorer can actually waste precious reads because Windows keeps touching thumbnails, metadata, and folders you didn’t ask for. If the drive is still semi-stable, use something that can image with controlled retries, then pull files from the image. Disk Drill is solid for that since it can create a byte-to-byte backup first and then recover data from the copy instead of hammering the original disk.
One more thing people forget: if this is an SSD, “bad sectors” can mean controller or NAND mapping issues, not the same failure pattern as a spinning HDD. SSDs can go from kinda-readable to totally gone real fast. In that case, less experimenting, more immediate imaging.
If the drive starts clicking, vanishing from BIOS, or capacity shows wrong, stop DIY. That’s lab territory, period.
One thing I’d add to what @codecrafter, @nachtdromer, and @mikeappsreviewer covered: check your file priorities by type, not just by folder.
Why that matters: when drives develop bad areas, large photo/video libraries often fail partway through, but small office docs, PDFs, spreadsheets, and exports may still come off cleanly if you grab them in batches. I would sort recovery targets into:
- tiny critical files first
- irreplaceable personal media second
- bulky archives last
I slightly disagree with the “always image first no matter what” camp. In a perfect world, yes. In the real world, if the drive is barely alive and keeps disconnecting, spending hours on a full image can cost you the few readable files that mattered most. Sometimes a targeted pull of the top-priority data is the smarter gamble.
Also, avoid copying through normal Explorer if possible. Use a tool that logs read failures so you know what was skipped instead of just freezing silently.
On Disk Drill specifically:
Pros:
- byte-to-byte backup option
- simple interface
- good for scanning an image instead of the original
- decent preview for recoverable files
Cons:
- not the cheapest option
- deep scans can take a long time
- if hardware failure is severe, software won’t save the situation
- advanced users may want more control over retries and imaging behavior
If this is an HDD and you hear new noises, stop. If it’s an SSD, move even faster because they can fall off a cliff with almost no warning. After recovery, retire the drive. Bad sectors are not a “monitor it and keep using it” thing.